

Non Standard Measurement activities help kids to really learn about measuring. But it needs to be done properly or your kids won’t get it! Read on to get our Secret Weapon for teaching non-standard measuring.

Before kids are introduced Standard Measurement using rulers and measuring tapes they need to understand what measuring is all about. To build deep understanding of measurement and the skills they need to measure properly kids need to learn how to measure using non standard units of measurement.
Unfortunately, non-standard measurement is often taught badly, or missed out altogether! More often than not many non standard measurement activities are really activities in counting and not how to measure.
Continue reading to find out how kids can measure thing without using rulers, tapes or scales. We will also tell you about our secret weapon for teaching non Standard Measurement… The ‘Messy Box’ an essential piece of kit to help you teach measurement.
There’s a handy FREE Measurement Cheat Sheet to print at the end of the post too. Perfect for your teaching numeracy toolkit!

*This Post Contains affiliate links.This does not affect your buying experience but A Plus Teaching Resources may receive a small commission for referring your purchase.
Related Post: How To Teach Standard Measurement

What’s The Difference Between Standard & Non Standard Measurement?
Non Standard Measurement
Non Standard Measurement is a way of introducing Pre School, Kindergarten, Reception or First Grade kids to measurement using a non-standard unit. It involves finding out how big, heavy, long, etc… something is and how two or more objects compare (DIRECT COMPARISON) to each other.

Standard Measurement
Standard measurement is introduced to middle and upper grade students. They are taught about a standard unit of measurement, like metres and centimetres, inches and feet. Standard Measurement is more complicated because it involves formulae or converting between units to find out how big, small, long…etc something is. ( INDIRECT COMPARISON).
It also requires skill and understanding in using measuring tools and instruments, particularly being able to read and interpret the scale on the tools.
In this post we are focussing on NON STANDARD Measurement you can read about Standard Measurement Activities in our related post.
Printable Measurement Activities


Become A VIP Member & Get Everything in our shop PLUS 20 NEW Resources a Month for only $3.08!!! Click the image to find out more…

Is Non Standard Measurement REAL Measuring?
The measurement process is very complicated and involves a lot of thinking, actions and steps if you are to measure an object correctly and accurately. Introducing kids to measurement activities using non standard units, if done properly, highlights these steps and gives them the opportunity to ‘DO’ measuring. Non Standard measuring is the foundation of REAl measurement, without it kids don’t understand the importance of:
- Starting points
- Standard units
- Uniform repeating units to measure and compare objects
- No gaps or overlaps
- How many units were used tells how ‘big’ something is
So what do I mean by ‘DO’ measuring? What I mean is, if you ask a student to find out which is the biggest, longest, tallest, heaviest…..book, table, foot… could they do it?
Well you’re probably going to say of course! But ask yourself how much of the ‘Measuring’ did they do on their own and how much did you scaffold? And by scaffold I mean, did the kids make critical measuring decision themself or did you give them all the answers? Did they decide:
- What parts of the object needed to be measured?
- What ‘non-standard’ tool to pick to do the measuring with
- Whether they would use the same unit over and over?
- How to deal with parts of a unit?
- Know the measurement?
- Talk about and communicate using the right measurement words?
So, If you tell the kids to find out how long the book is using unifix cubes, how much of the measuring have the kids really done? Does this type of measurement activity focused on ‘COUNTING How Many’ cubes long, a book is or measuring?
The MOST important thing about Teaching Non-Standard Measurement is that the measurement task is a MEASURING task that gives kids the opportunity to learn what you need to ‘DO’ if you want to measure an object. (REMEMBER THIS!)

Educating Parents About Non Standard Measurement
So you may be wondering, and so may your parents & your students…Why are students made to measure objects using hand-spans, popsticks, string, anything but a ruler?
Using Non standard measurement (direct measurement) helps students to understand the measuring process. Lessons and activities that let kids learn to measure using non-standard measurement tools, (popsticks, uni fixcubes or marbles) allow them to focus on how to measure and find out which object is heavier, lighter, longer, shorter etc. without reading scales on standard measuring tools.
These processes are important foundations to measurement and facilitate students understanding of what measuring is before they go move onto the next step of measuring objects using standard units.
Planning Non Standard Measurement Lessons
A great resource we used to plan our non standard measurement activity is the First Steps Measurement Books. These books are research based Research and outline what to include in measurement lesson plans and activities. They are my go to resource to help me understand what processes kids need to learn. For teaching non standard measurement this is 3 phases that need to be used for teaching all the measurement attributes of:
- length
- area
- volume
- capacity
- mass
Lessons and units need to give opportunities for exploration of the key ideas:
- To measure something means how much of a particular attribute it has.
- The instrument we choose to represent the unit should relate well to what we are measuring & should be easily repeated
- Our choice of attribute & unit depends upon what we are trying to measure & why
- To measure consistently we need to use our instrument in a way that is a good match to the object being measured
Get access to the First Steps Teaching Mathematics Books FREE online here.

Phase 1: Identifying the attribute
The focus is on – Developing the concept of the attribute, distinguish it from other attributes and gaining intuitive understanding of properties.
Activities would include opportunity to:
- Learn language of measurement
(how far, how long, tall, short, wide, distance around tree, length…) - Compare objects on basis of attribute
(which snake is longer, who is taller, which house is further away, sort pens by length …) - Compare with other attributes
(this box is longer, but that box is bigger; he is taller, but I am older) - Use informal units
(it is 5 giant steps to the window, this table is 12 books long …)

Phase 2: Learning to measure
Measure how much (quantity), use formal units, estimate measurements.
- Transition from informal units to formal units
(make ‘ruler’ for informal unit (e.g. popstick length, discuss value of agreed unit, make own ruler measuring in centimetres …) - Make and use simplified ‘instruments’ that highlight key features
(rulers with only centimetres marked, one-handed clock, mark a jug with ‘cups’…) - Measure objects in various ways
(correct use of ruler, tape measure, trundle wheel …) - Acquiring a set of personal benchmarks that can be used for estimating
(my hand span is about 15 cm; I am about 130cm tall…)
Phase 3: Learning to calculate
Convert from one unit to another, calculate, instead of direct measure.
- Formulas derived from first principles, rather than only memorised
(perimeter of rectangle = 2 × length + 2 × width, circumference of circle = 2 r)
r) - Conversions between units draws on principles of proportional reasoning
(sketch dual number line to see 3.2 km = 3200 m etc)

Non-Standard Measurement Units
Messy Math Box
To teach non-standard measurement effectively you will need a ‘Messy’ Measurement Box. This is a box filled with all sorts of non-standard measuring tools.
By using the ‘messy’ box to measure objects kids are learning that measurement is not just a numerical final measurement. They learn that measurement is also about:
- selecting the correct tool for the job
- selecting a uniform repeating unit
- using a unit in the same way without gaps or overlaps to find out how big something is.
The process of non-standard measurement highlights some big ideas of measurement & students need to master the full range of skills to become competent before they start using scaled measuring tools.
What To Include In A Measurement Messy Box
When measuring, students need to independently select the correct tool for the job, rather than being told to measure the desk using popsticks. By presenting the students with a ‘Measurement Messy box and asking them “How long is the desk?” or “Which is the biggest?” you are allowing your kids to demonstrate and use their measurement skills to ‘DO’ measuring!
In our ‘Messy’ box we included a range of items for measuring all attributes, not just length, so the students really did have to decide which measuring tool is right for the job. We included:
- pegs
- wool, elastic, string
- matchsticks
- sticky tape
- plastic drinking cups
- broken rulers
- pop sticks
- blu tac
- cotton buds
- marbles
- broken rulers (see related post for more on this one!)
There are so many items you can include but make sure that the box of equipment MESSY and the items are not to be sorted or organised in any way. If you organise and sort the messy box items then you are actually sorting into uniform repeating units. This is scaffolding the student and prompting them to select a repeating uniform unit, rather than them learning the importance of this themselves.
Using The Messy Box For Measurement Activities
You may think that children instinctively know what to measure length, width, mass etc with but they don’t … This was proved recently when I asked the Year 4’s to measure their desks. They were asked to find out how big their desk was and who had the biggest desk? Simple enough right?
Each group had a MESSY MEASUREMENT BOX on their tables containing a range of items, string, popsticks, broken rulers, plastic cups, blutac, match sticks, sticky tape, elastic bands, clothes pegs, crayons, pencils, cotton buds…etc. . As we stood and watched the children my colleagues & I could not believe what we were seeing.
How Kids Measured Using the Messy Box
The behaviour of the groups clearly identified what we needed to teach, Group:
- Stood staring & disengaged, waiting because they just couldn’t get past the ‘hands on’ approach & didn’t understand the concept of measuring
- Pleaded for a ruler,
- Decided to use bluetac & stretched it across the table. When it snapped they put the bit in their hands on the edge of the table and ignored the fact that they didn’t have enough
- Used a mixture of items, a crayon, a popstick & an elastic band, and lined them end to end across the table in a very slanted line, and when they got to the end & didn’t have a small item just ignored the gap.
- Used the same item repeatedly, but who measured the space of their finger every time they moved their tool
- The group who used a MARBLE to measure length!!!!!!!!
So you can now see the importance of letting students select their own tools to measure from a ‘Messy’ box. If we had just given them rulers or pop sticks we would not have identified their areas of need. Try this one in your class and let us know what happens!

Teaching Measurement Resources
To help identify which year levels teach what in measurement I created a Measurement Cheat Sheet. It helps educators to make links between what is to be taught in each Year Level, specific concepts, & the Achievement Standards. There is also a handy clarification of measurement terminology page, to help with a shared understanding of teaching measurement.
- Free Teaching Measurement Cheat Sheet
- Using Children’s Books For Teaching Measurement
- Kindergarten Non Standard Measurement Moderation Task
- Measuring Using Informal Units
- Non Standard Measurement Activities {Hands-On}

And Finally…
Measurement is tricky even for adults. How many times have you misjudged something and when you have got it hoe or had it delivered it doesn’t fit!!! So give your students the time they need to explore measurement and the art of measuring!
Related Posts For Teaching Measurement


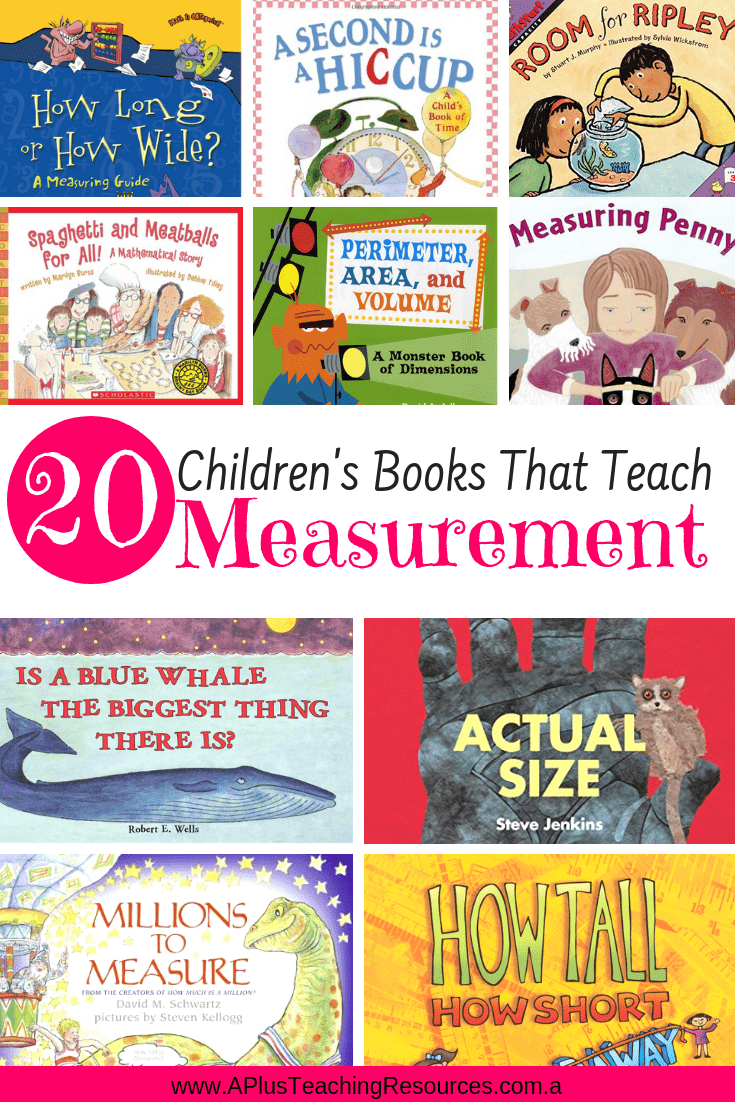
Children’s Books For Teaching Measurement


Rainbow Rice Sensory Bin Activities
PSST! If you want to Save time and $$$ on Teaching Resources Join Our VIP Club! Get instant access
To ALL our PAID & FREE Resources Plus 20+ New Activities Every Week! Click The Image Below To Find Out More…
[…] Related Post: Our Quick Guide To Teaching Non-Standard Measurement In The Early Years – What You Need to Kno… […]
[…] Non Standard Measurement […]
[…] Non-Standard Measurement […]